Recovering Sound From a Wine Bottle Label
In this post, I follow a procedure from a recent episode of Computerphile to convert some waveform images back into audio. In particular, I turn a wine bottle’s label back into the sound that created it… with unsurprisingly mediocre results! 🙂
Background
Back in 2017, I was looking for a bottle of wine at my local Jewel-Osco when I ran across one called “Urlo (Scream).” I hadn’t heard of this wine before, but its label stuck out to me because it seemed to show a graphical representation of a scream:
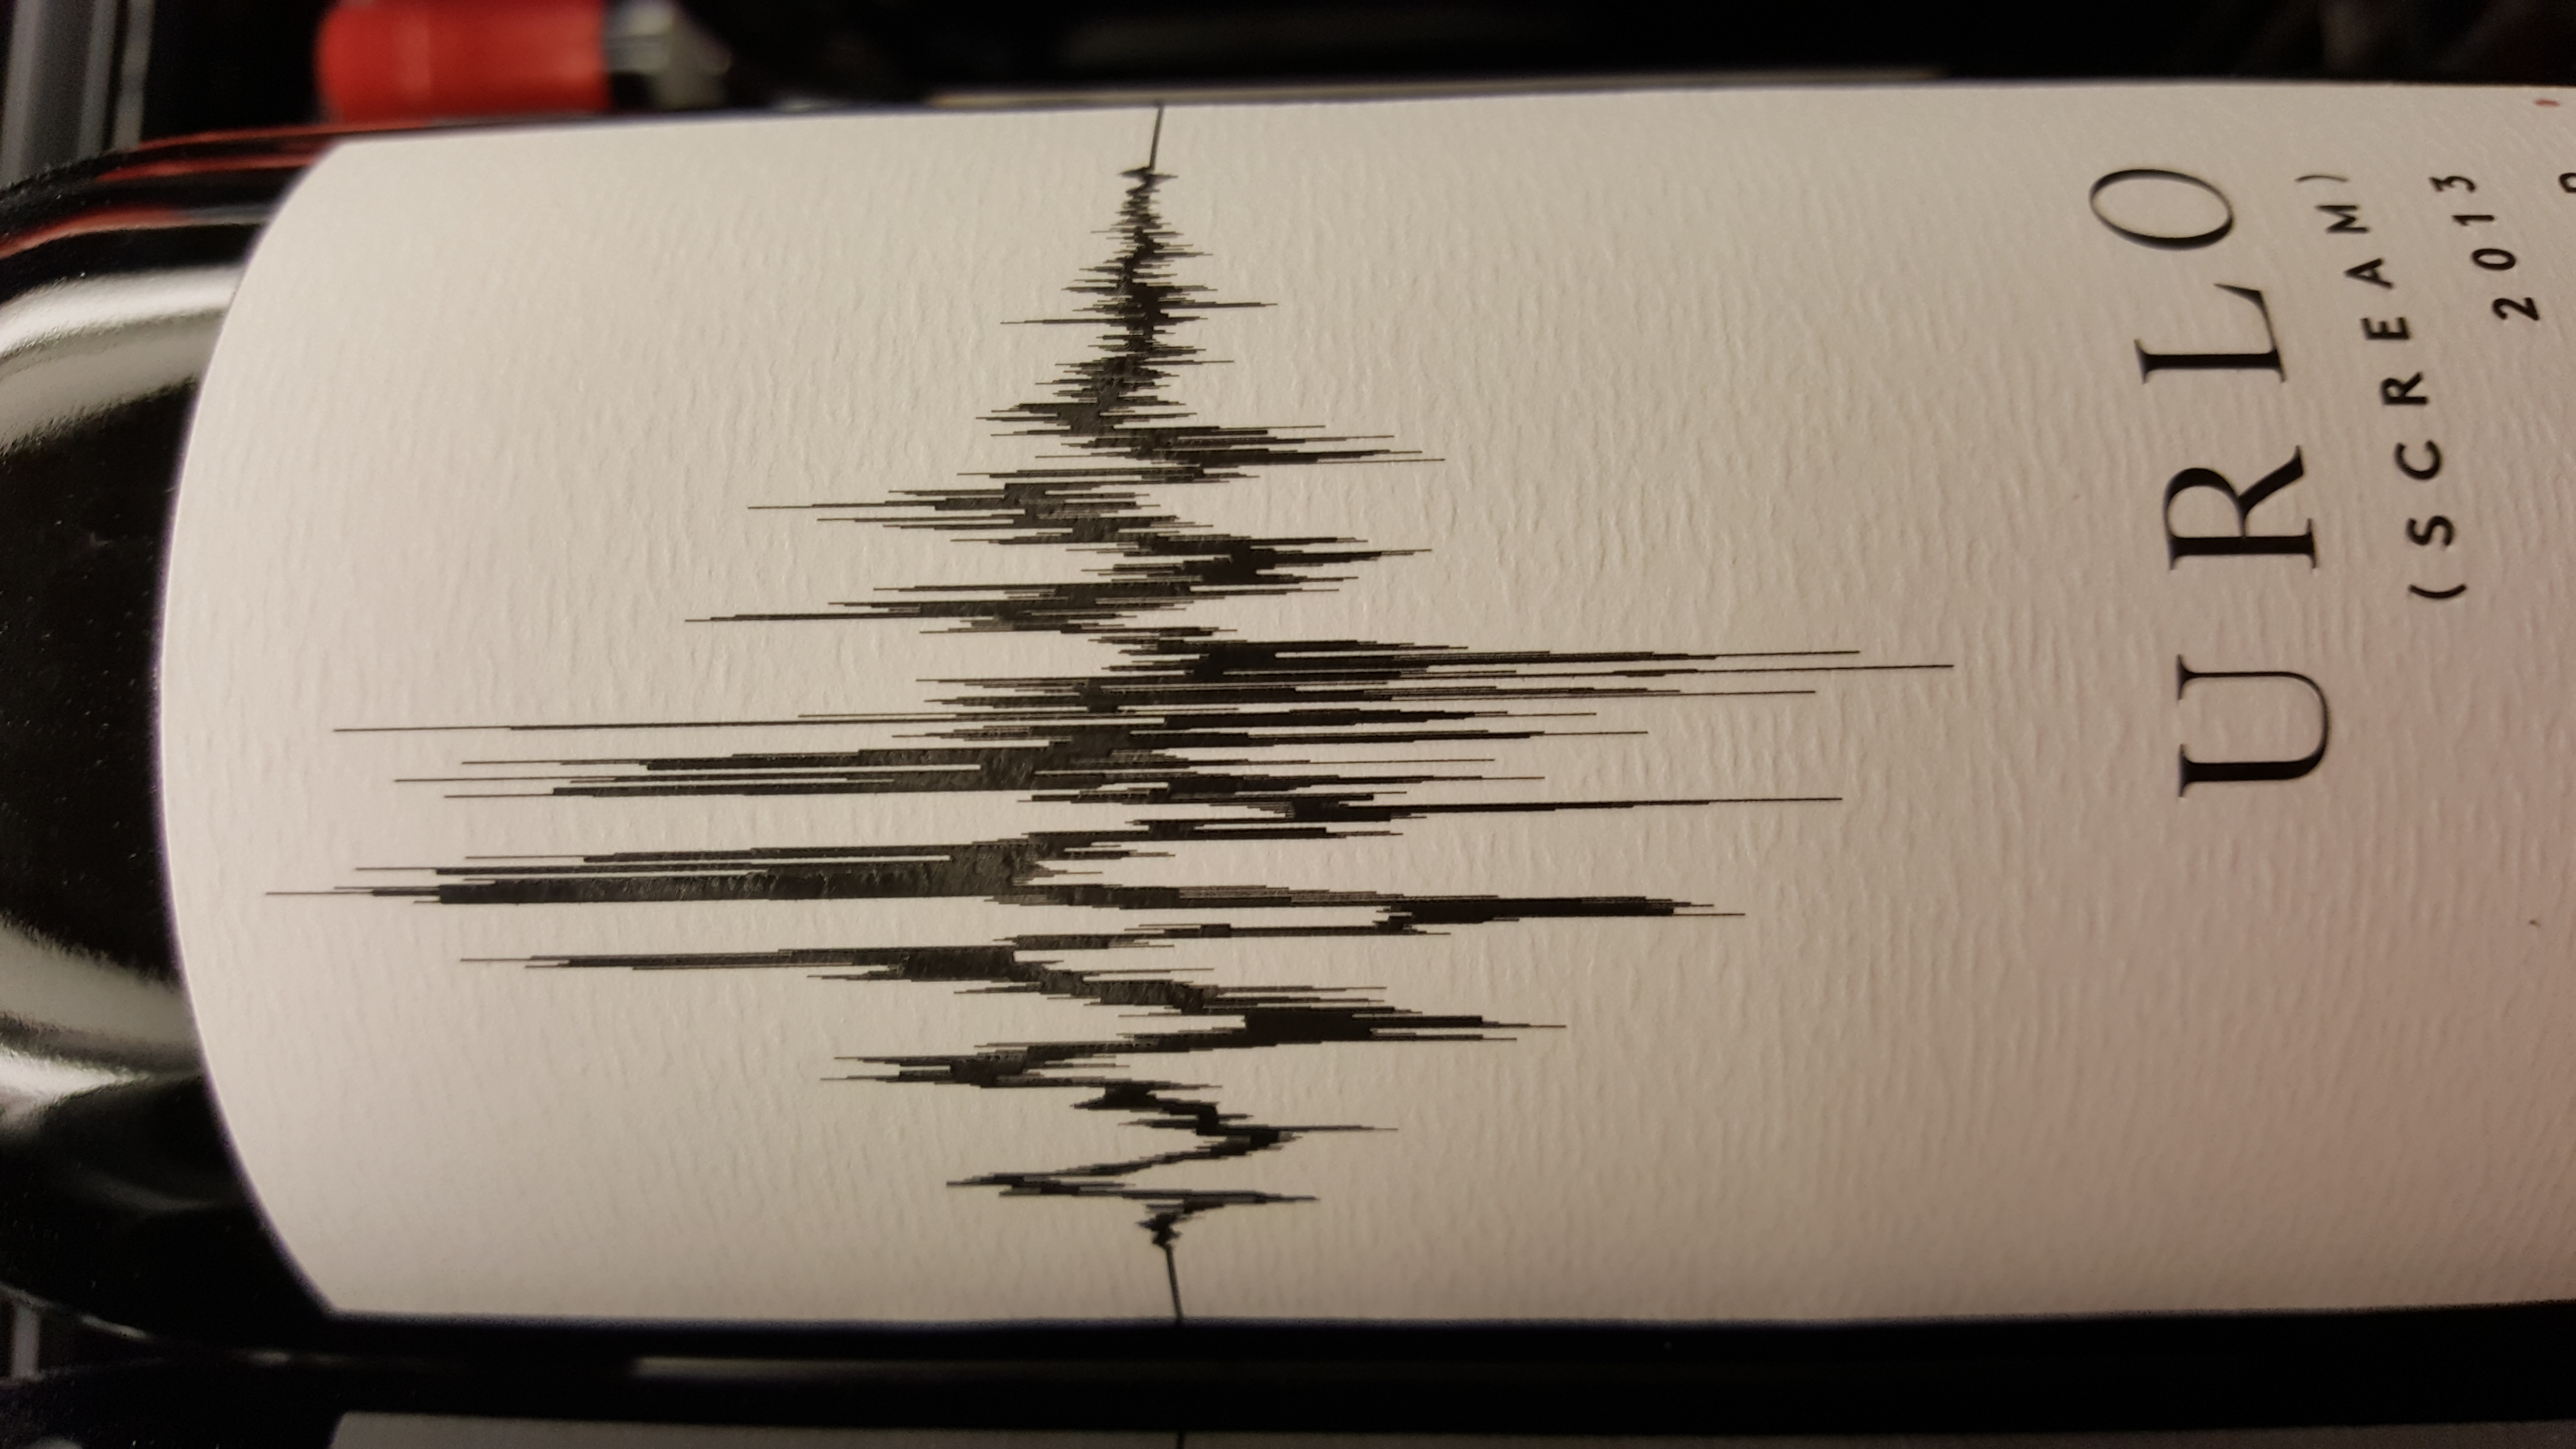
I thought it might be fun to try to undo the encoding process and turn the picture back into the sound that created it. So, I snapped a picture of the bottle and carried on with my shopping. (I didn’t end up buying the wine, I just thought its label looked interesting!) In the end, I must have forgotten about the photo that I took, since I didn’t end up doing anything with the picture at the time. That probably would have been the end of this idea, if I hadn’t run across the following recent Computerphile video:
In this video, they managed to get a fairly faithful reconstruction of an audio signal from a waveform image which they made while editing some audio for a Computerphile video. Their reconstruction procedure is simple and explained fairly thoroughly in the video, so I couldn’t resist implementing it in Python. As a sanity check (since I knew it worked pretty well for them), I ran my implementation against the same image that they used in the Computerphile video. The results for this image, as in the video, were pretty good. Knowing that my implementation worked (more or less), I went back and applied it to my wine bottle image, and I got pretty mediocre results!
For the remainder the post, I’ll provide a brief description of their algorithm (here), my sanity check against the Computerphile image (here), and the results for the wine bottle reconstruction (here).
In case you’d like to have a look at the scripts which were used to generate the results in this post, my code can be obtained here.
Reconstruction Procedure
To reconstruct the signal, you first need to throw away anything in the image that doesn’t correspond to the waveform (i.e. crop away everything except for the signal). Next you need to reduce the image to a contrast between a signal and background (i.e. threshold the image). Once this has been done, you can scan along each vertical line (corresponding to a temporal sample) to find the upper and lower bounds of the pixels that belong to the signal. These time series for the upper and lower bounds can then be interleaved (i.e. every other sample comes from the upper or lower series) to form a signal with twice the number of samples as the original image. This interleaving procedure introduces a high-frequency ringing into the reconstruction, so the signal needs to be smoothed a bit to remove high-frequency artifacts (this was done using a simple moving average). Finally, the signal needs to be up-sampled in order to produce a signal with a reasonable duration (this was accomplished through linear interpolation).
Note: I’m not entirely sure why they chose to interleave the upper and lower bound signals, since this ends up forcing you to take a moving average of the signal. Once you do the moving average, you’re basically just taking the average of the upper and lower bound series. So, instead of interleaving, you could probably just take the average of the two bounds in each sample. If you did it this way, you might not have to smooth the signal to remove the ringing artifacts - but it may still be necessary!
Sanity Checking With the Computerphile Audio
To begin with, let’s have a look at the original image used in the Computerphile video:
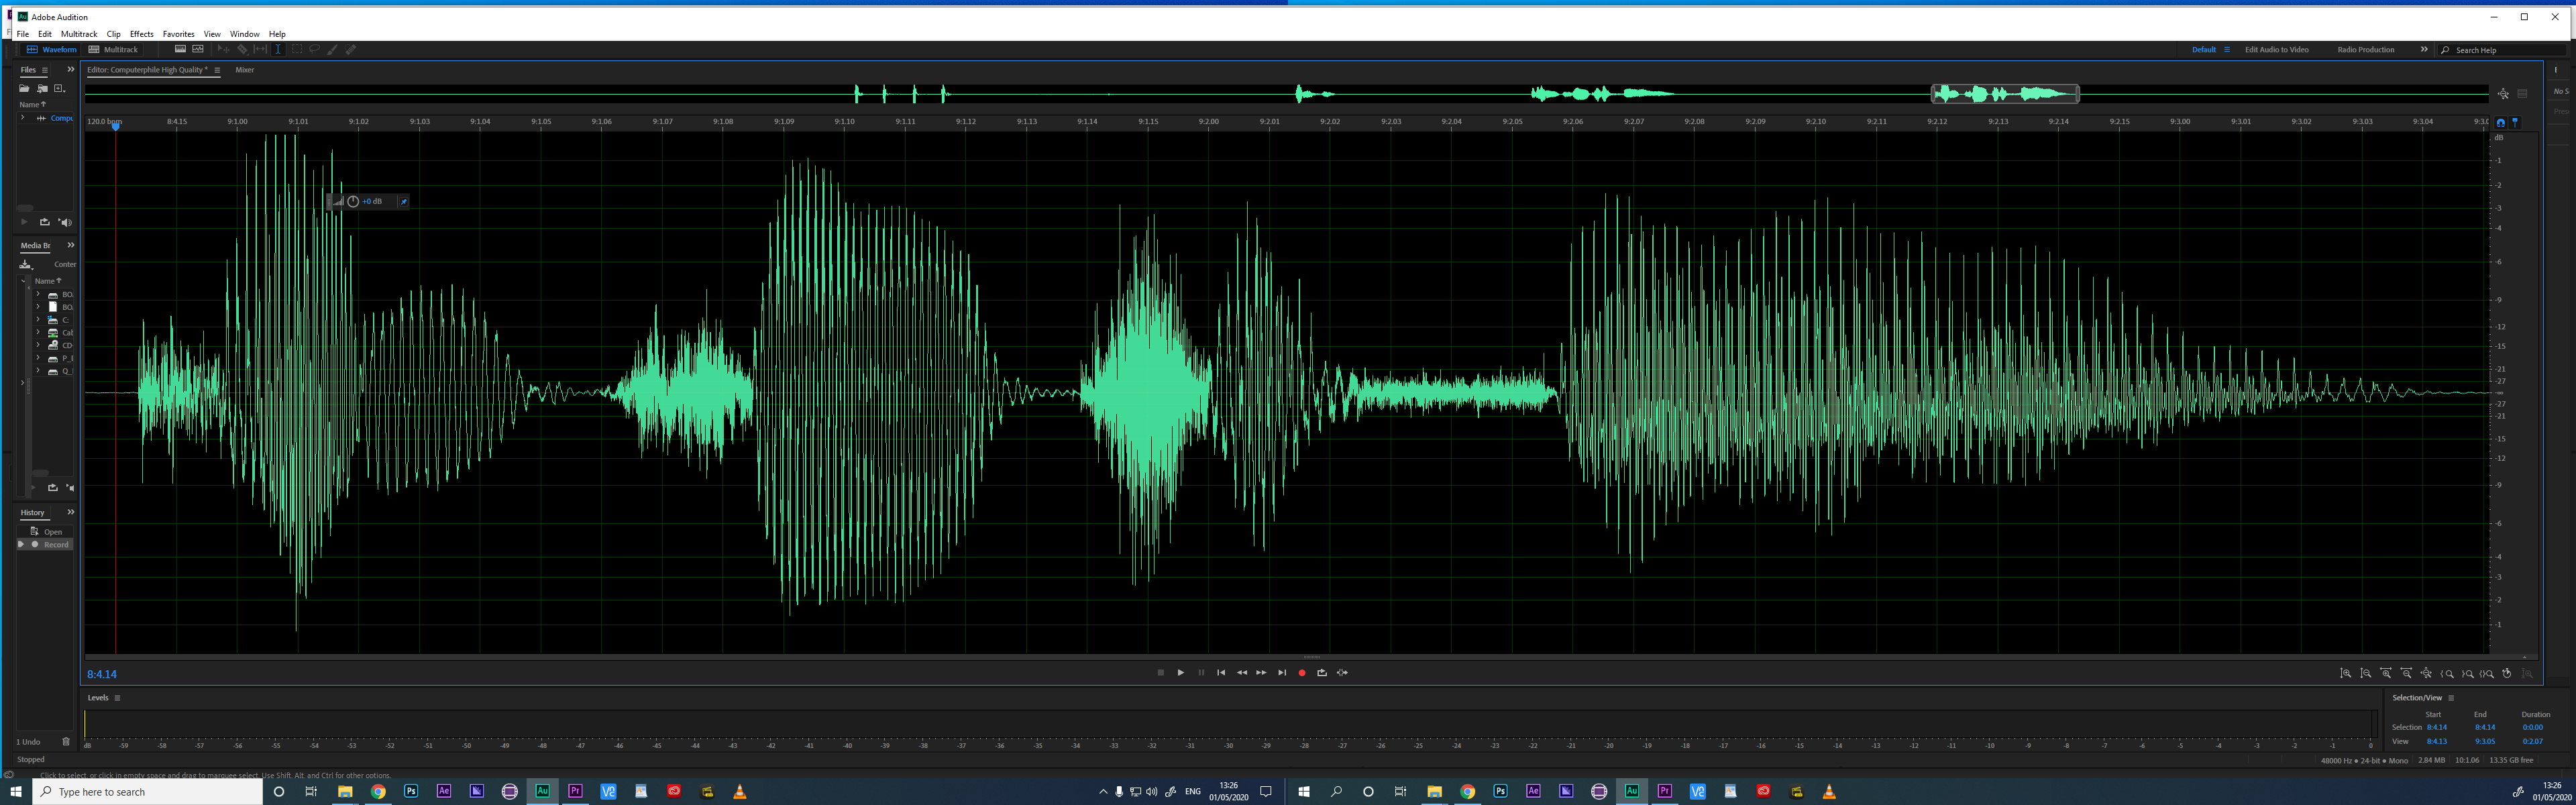
As you can see, this image is pretty high quality, and doesn’t seem to be “missing” too much of the original signal.
After manually cropping the image in Numpy, I recovered the following signal envelope:

Applying the procedure described above resulted in the following audio:
Although the audio speaks for itself (literally!), and demonstrates a
reasonable recovery of the original signal, I also threw the .wav
file into Audacity to have a look at the signal I recovered. Here’s
what the recovered waveform looks like in Audacity:
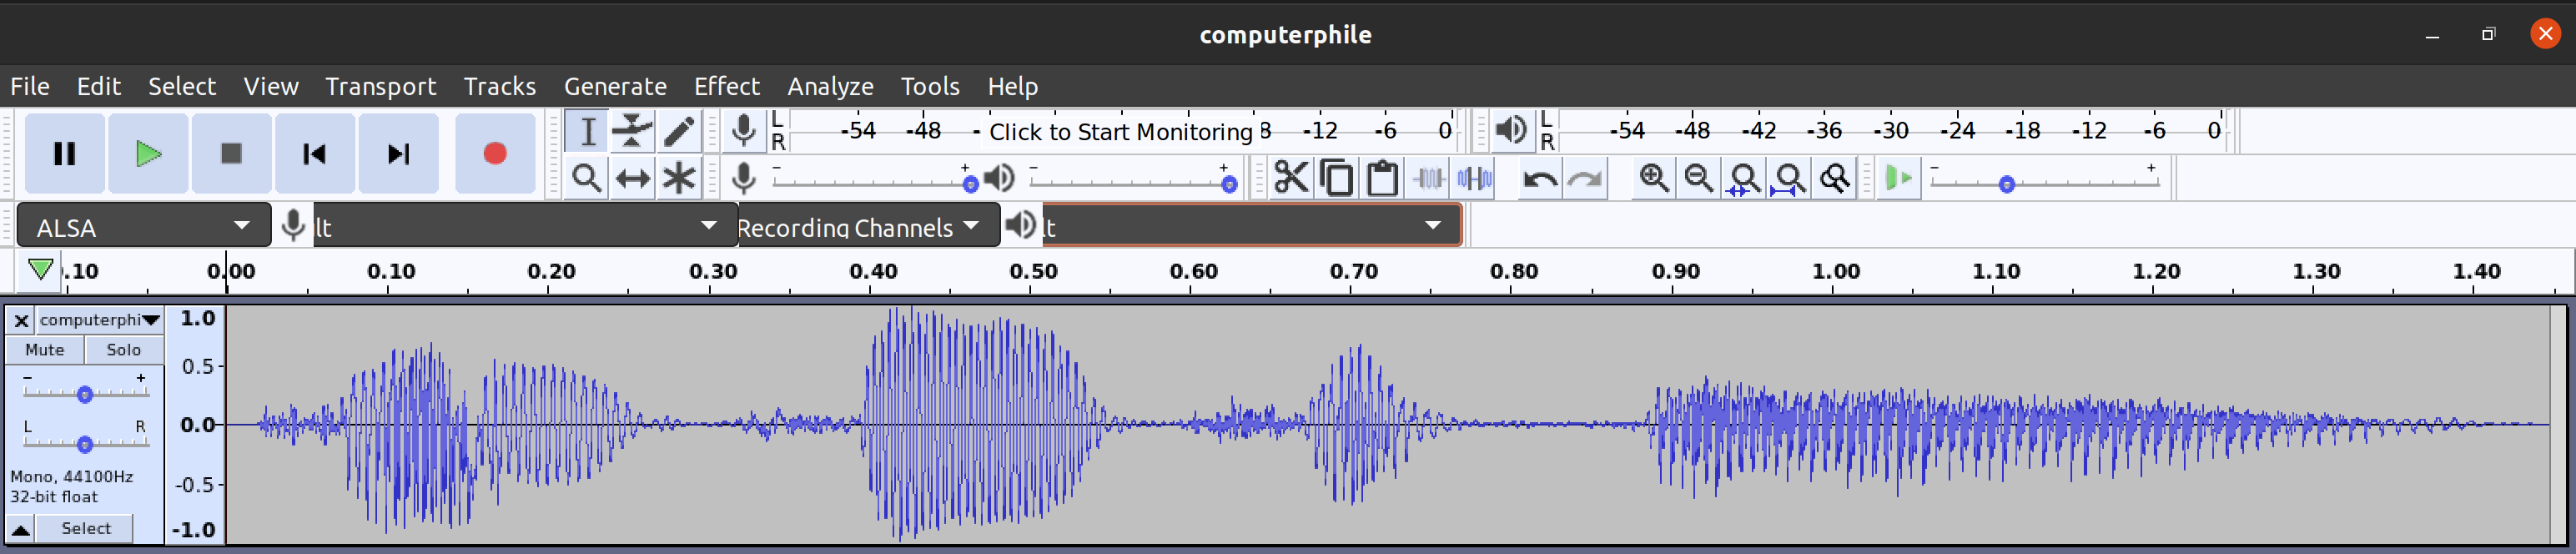
At this point, we’ve gone full circle… we’ve taken a waveform image, turned it back into audio, and then generated a new wave form image from the reconstruction. What if we kept on going with this process? I guess we could repeat this process indefinitely in order to produce progressively worse audio… I just didn’t have the motivation to do that today. 🙂
Reconstructing the Wine Scream
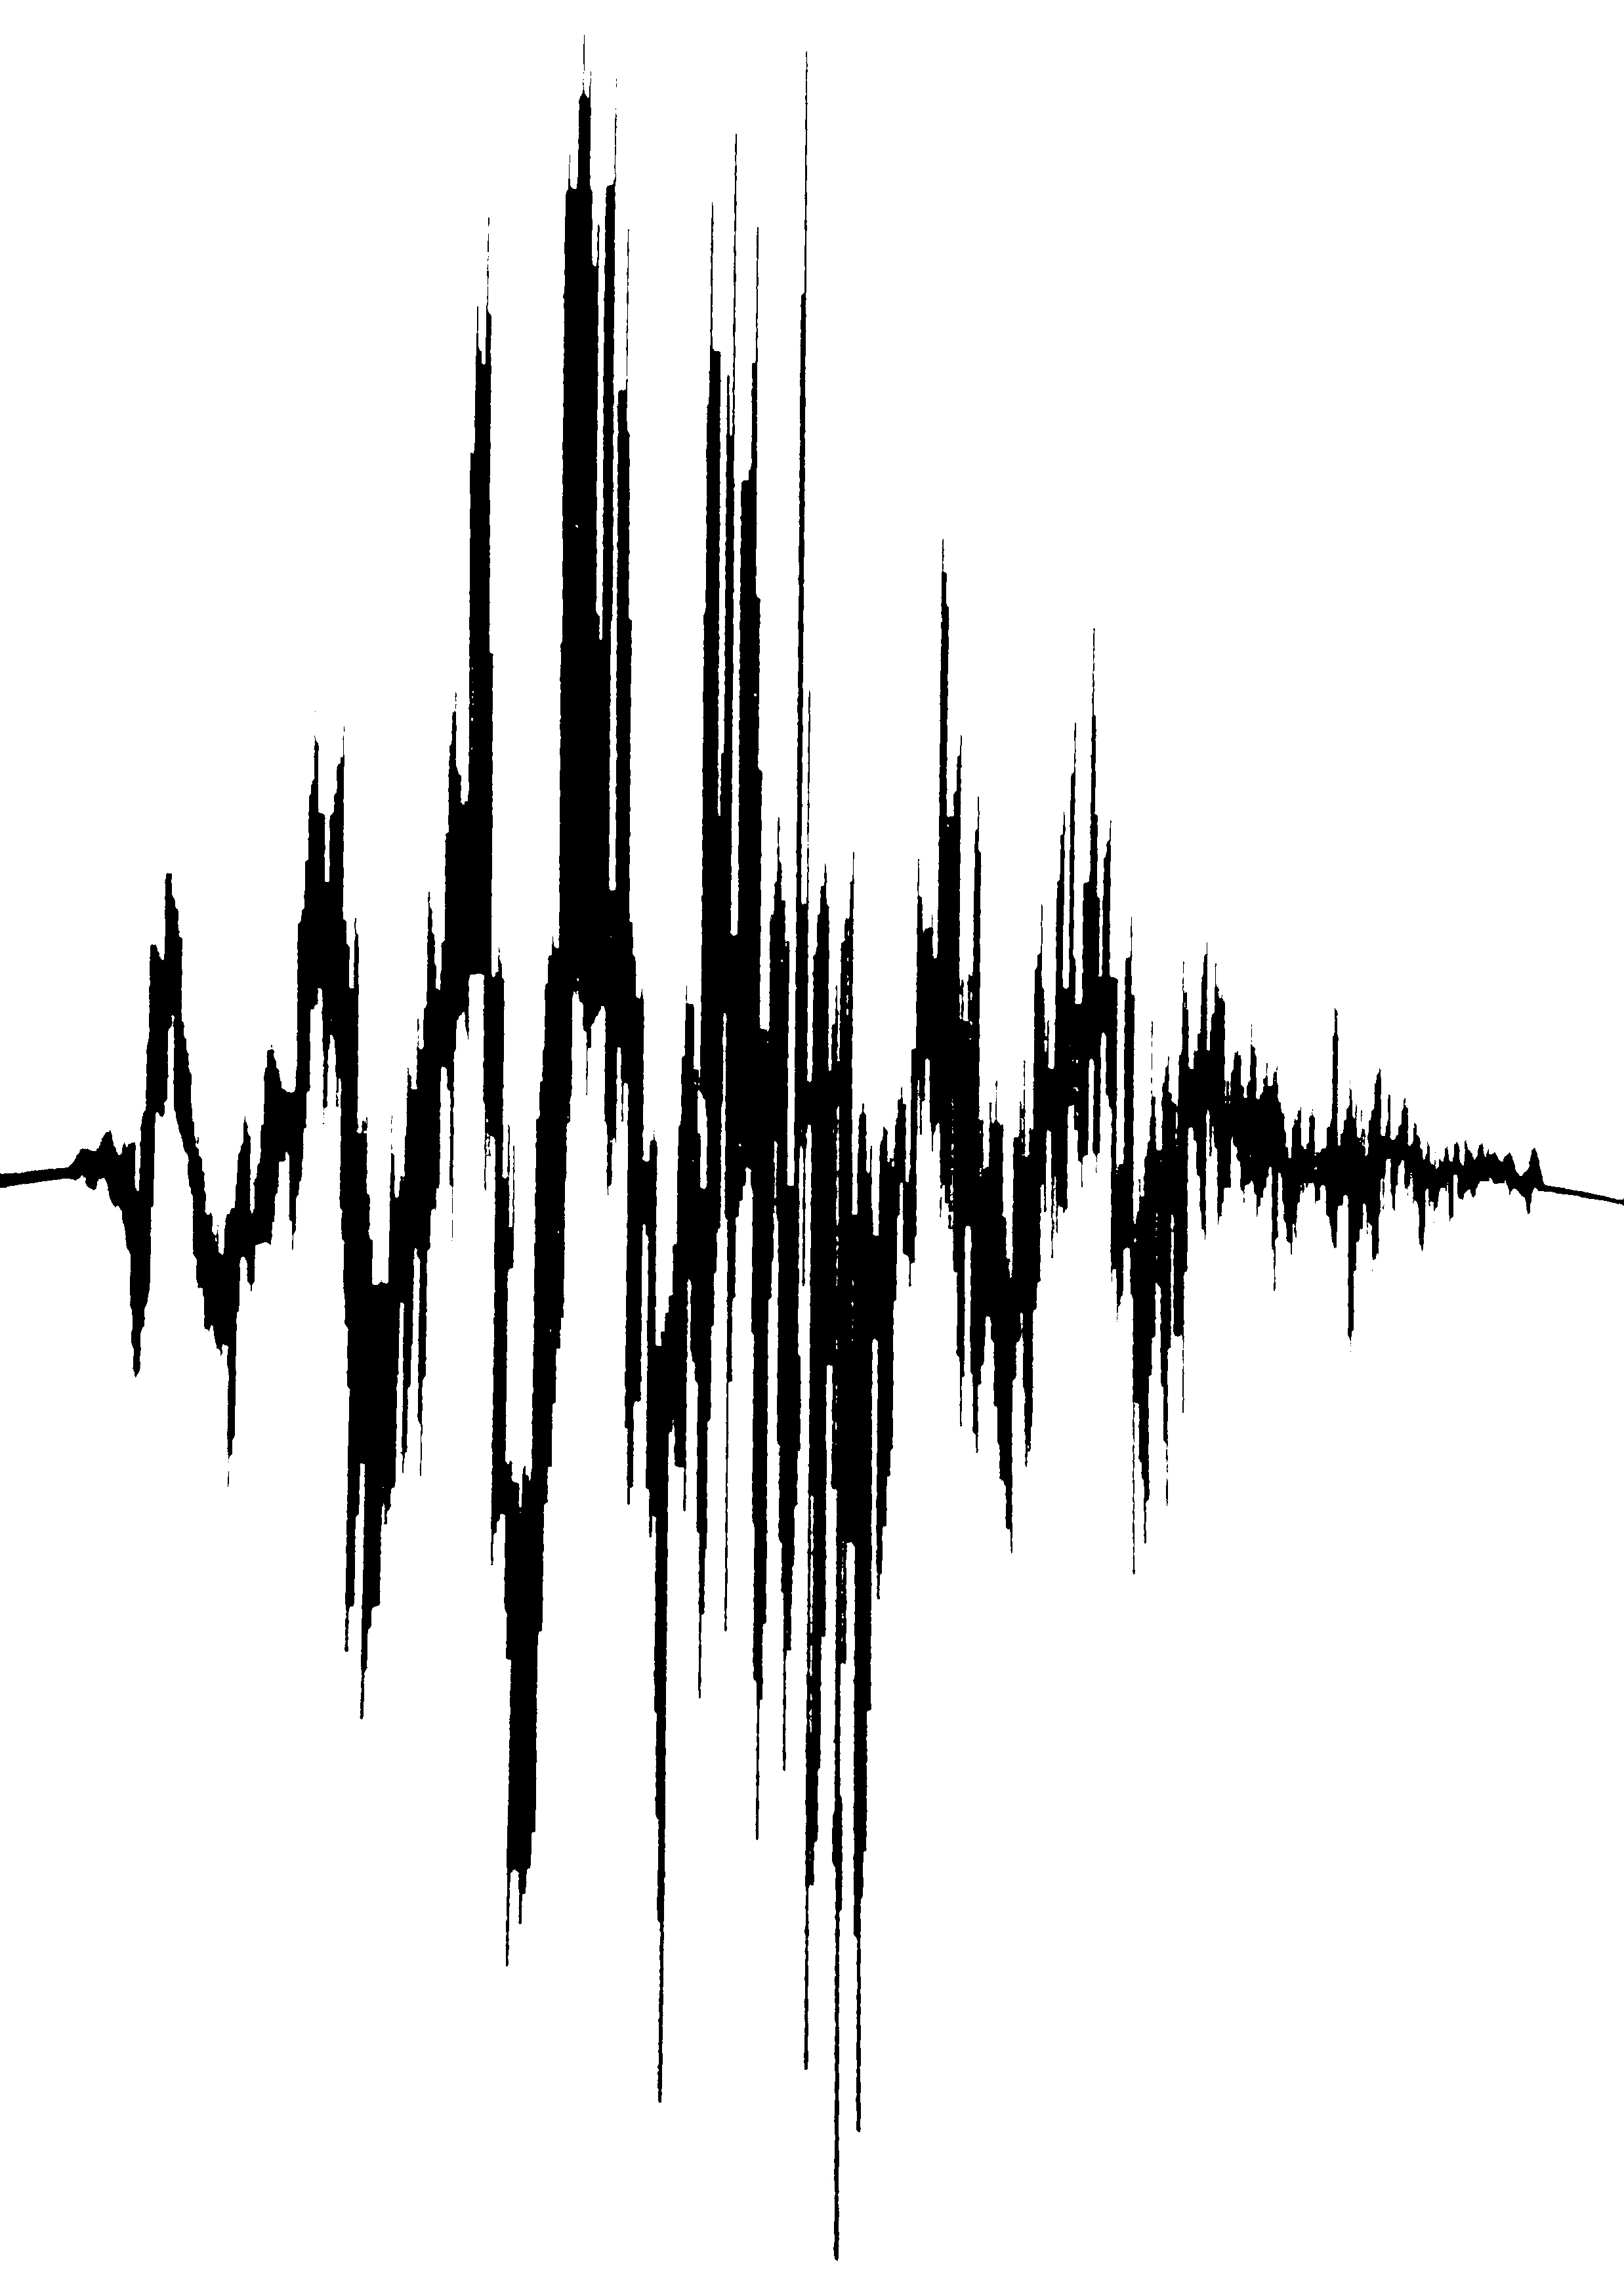
Before feeding the wine image into my recovery program, I did a bit of pre-processing in GIMP. In particular, I rotated the image, tried to undo a bit of distortion from the shot’s closeness / angle (although I didn’t attempt to remove the wine bottle’s curvature), converted the image to black-and-white, and cropped some extraneous junk from the image. After that, I was left with the following result:
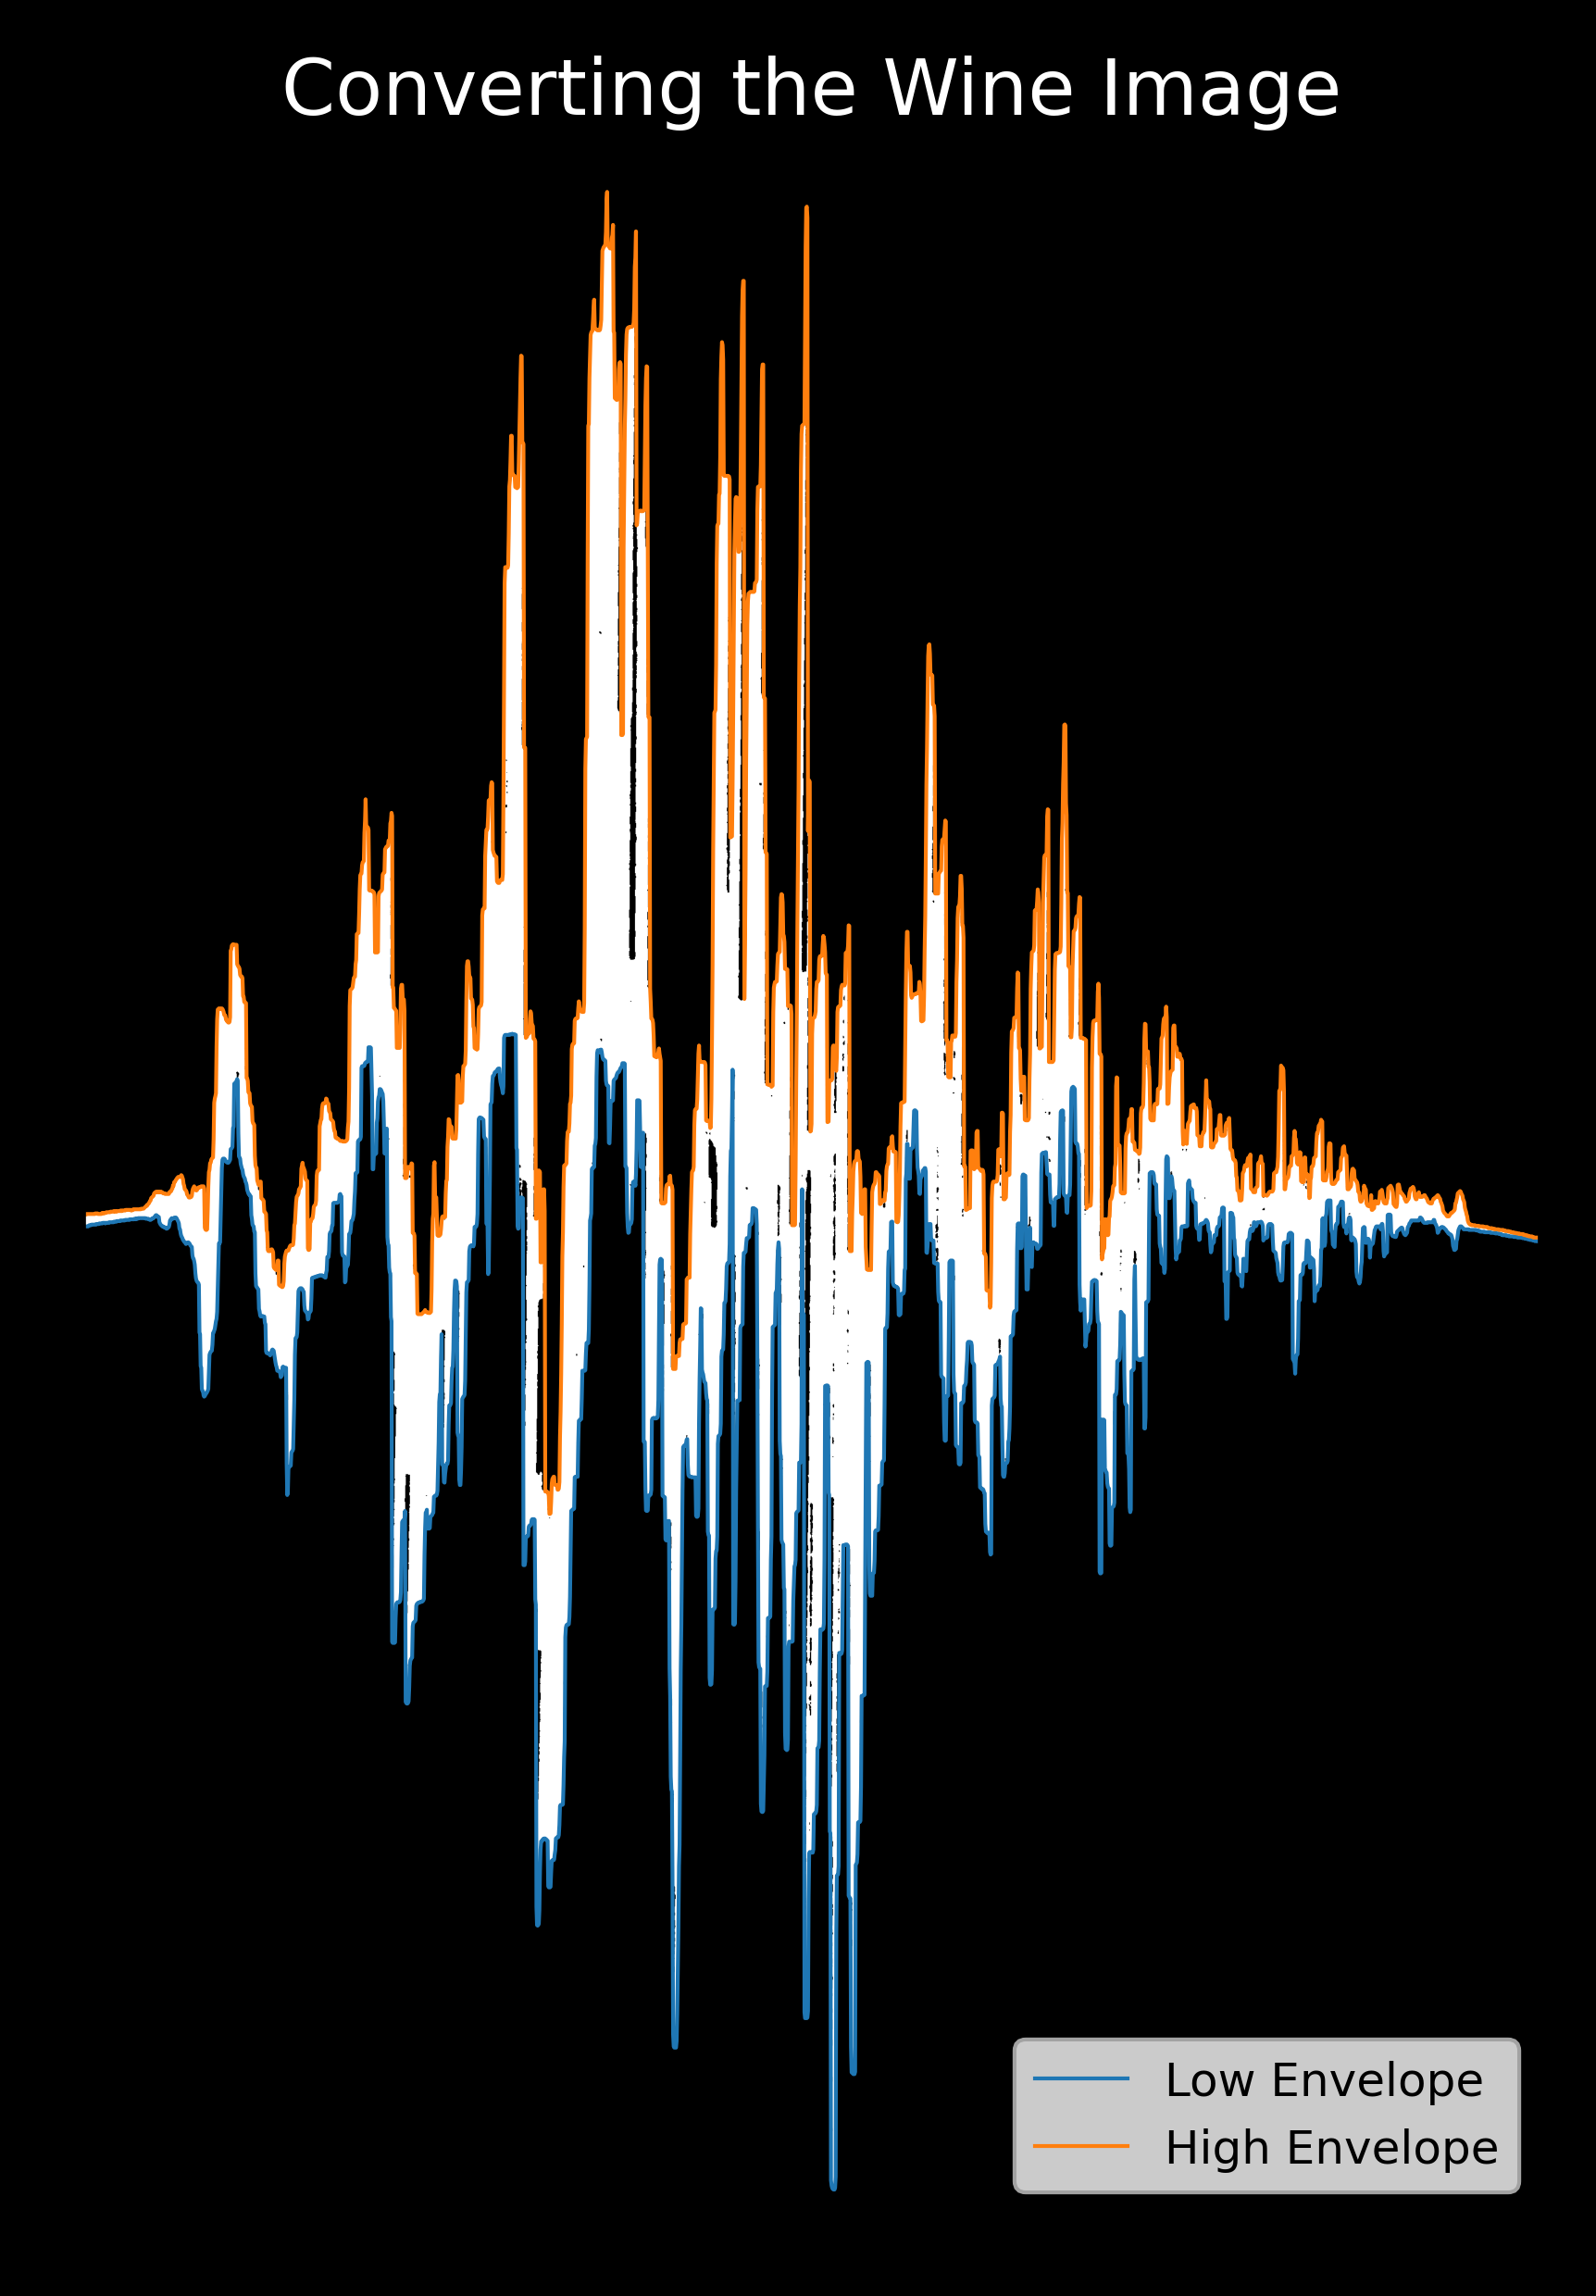
Feeding this image into my program resulted in the following signal envelope:
From here, I had to play a bit with the stretching factor to pick an appropriate signal duration, but after that was done I obtained the following audio:
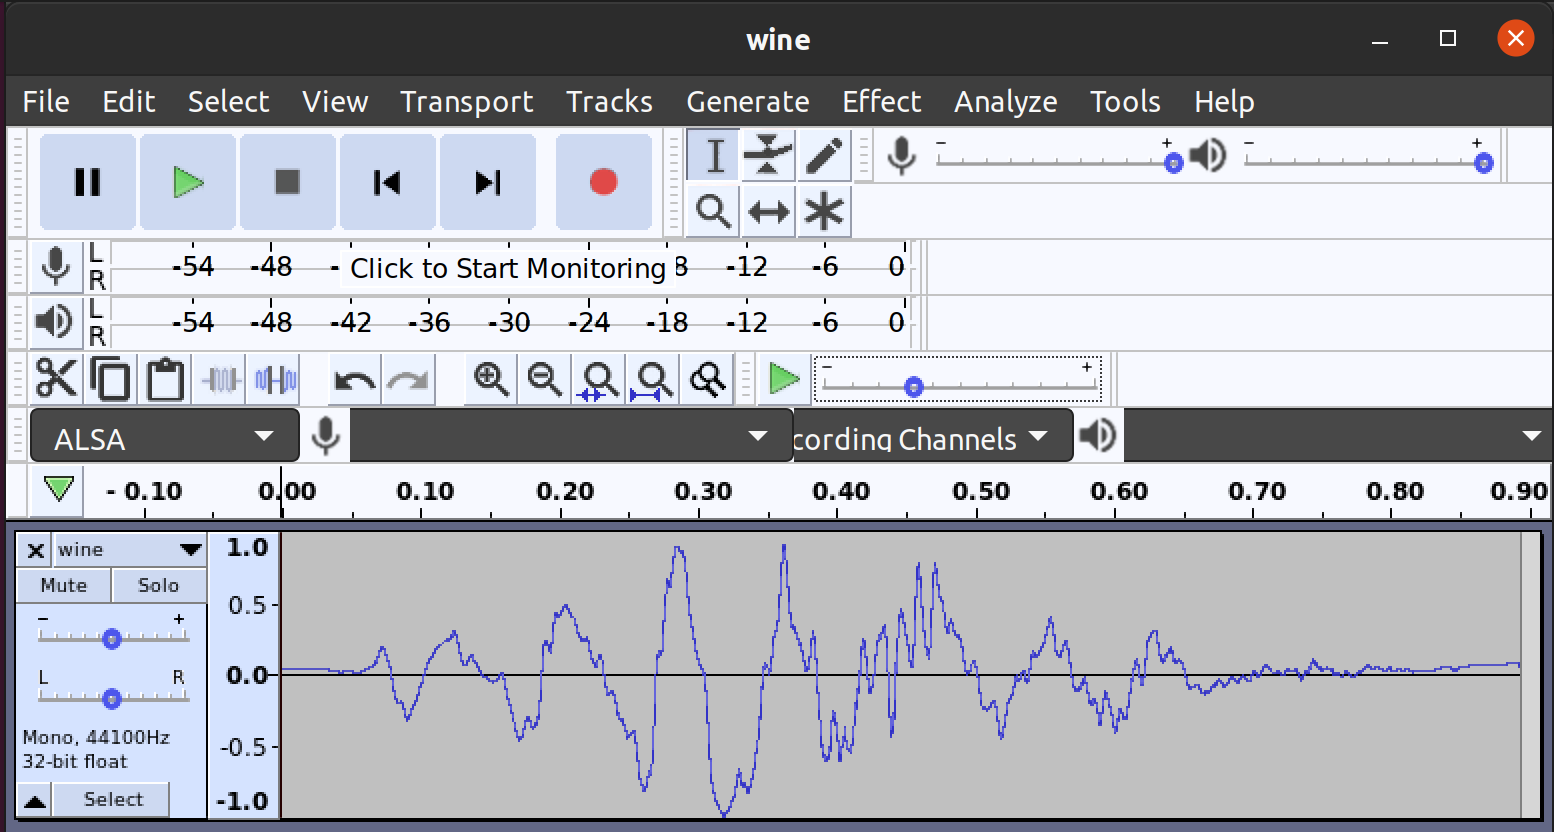
As I’ve said above, the result is not great. However, the following screen capture from Audacity shows that the recovered waveform mostly looks like the image that I started with:
The main reason that this audio is so much worse than the Computerphile audio, is probably a result of the way that the two images were created. The Computerphile image was created in high-resolution from a computer screen capture of a similar program to Audacity. As a result, this image has most of the acoustic signal present in it with only a bit of loss due to digitization. On the other hand, the scream signal was inked onto a wine bottle label. The result of that process is a very lossy encoding that almost certainly removed the bulk of the signal’s high-frequency content. This is especially problematic for a signal like a scream, since it should almost certainly have non-trivial components in the higher pitch ranges! In addition, the wine bottle had a substantial curvature that I didn’t bother to adjust for, which further distorted the reconstructed signal.
Even though the results were kind of disappointing (although I should have expected as much), I’m happy to at least have a vague idea of what the wine bottle’s scream might have sounded like.